Advanced Unlock Options
Along with easy to use unlock features UnLock IT comes with a range of advanced unlocking options. With UnLock IT after checking the resource for being locked you can kill any or all of the locking processes, close library handles and file handles owned by these processes, assign permissions to specific objects to allow access to the locked resource and close file handles for open shares.
If you would like to perform only specific parts of unlocking a resource, such as handles closing, processes termination or granting access to the resource and its children, you need to open the context menu for a locked resource and choose Locks Details to open the dialog with detailed information about resource locks. This dialog consists of multiple tabs where you can find actions to release locks.
Managing Processes Locks
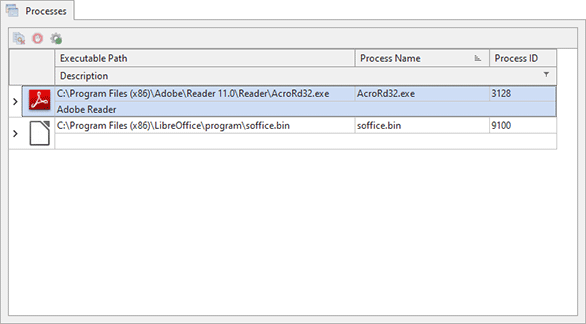
The list of locking processes along with the handles owned by each process can be reviewed on the Processes tab of the Locks Details dialog Pic 1.
You can use the following actions available in the context menu or on the toolbar to manage locking processes.
|
Close Handles The Close Handles button can be used to close the handles owned by the locking processes In case, the process is selected, all its handles locking the resource is closed, otherwise only the selected handles are closed. |
|
Kill The Kill Process button allows you to terminate the selected processes. |
To terminate a process you should right click it in the processes table and choose Kill Processes menu item from the pop-up menu.
Killing the locking processes may cause system instability if there are system processes in the locking processes list.
It is possible to close any of the system resources owned by the locking process - just select it in the processes table and choose the Close Handles option in the context menu.
Managing Insufficient Permissions
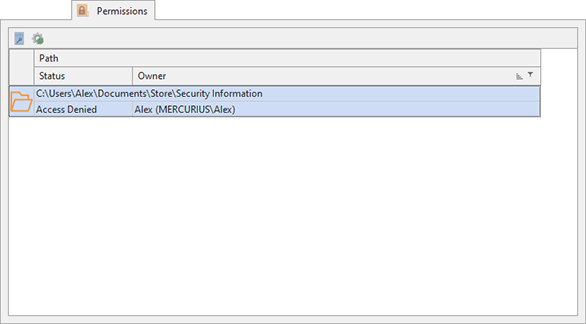
The issues in permissions configuration that are limiting you access to the files and folders are displayed on the Permissions tab of the Locks Details dialog Pic 2.
You can use the following actions available in the context menu or on the toolbar to manage permissions.
|
Grant Access The Grant Access button can be used to configure permissions on the selected objects for granting you full access to those objects. |
To grant access to any of these objects, select them in the view and choose the Grant Access menu item.
Managing Shares Locks
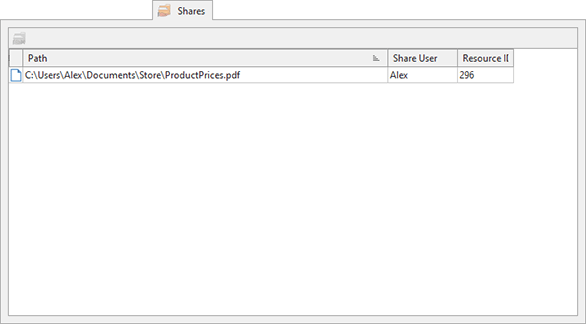
The list of open shares that block access to the analyzed resources is displayed on the Shares tab of the Locks Details dialog Pic 3.
You can use the following actions available in the context menu or on the toolbar to manage shares.
|
Close Share The Close Share button can be used to close file handles for opened shares to unlock the resources. |
To unlock the resources, select shared resources in the view and choose the Close Share menu item to close file handles for the selected shares.


