Importing and Exporting Tasks
With Remote Installer, you can easily import and export Tasks any time you want. Exported Tasks include the whole Task configuration except the scheduling data. You can export one or all of the available Tasks to use the exported data as a backup, to share data with your colleagues or simply to import the Tasks to another instance of the program.
|
Import The Import button from the Organize Ribbon group on the Program page can be used to import Tasks from an XML file with the help of the wizard. |
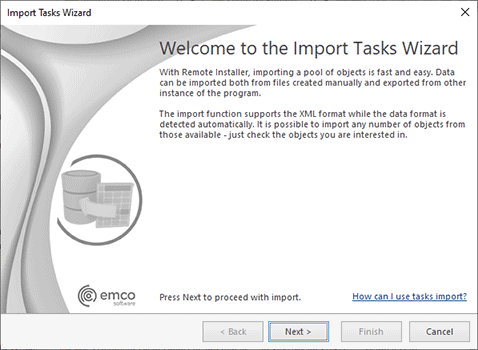
If you want to import Tasks into Remote Installer, press the Import button from the Organize Ribbon group on the Program page when the Tasks area is focused. Optionally, you can use the Import button from the pop-up menu of the Tasks area. The import wizard will appear on the screen to guide you through the import process Pic 1.
The first page of the Import Tasks wizard is the welcome page used to introduce you to the feature the wizard is supposed to help you with. After reading the welcome information, press Next to continue with import.
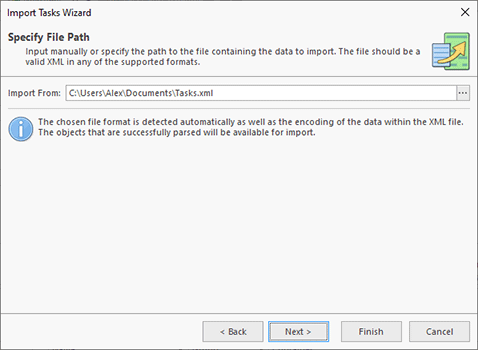
On the next page of the Import Tasks wizard, you are offered to choose the file you are going to import Tasks from Pic 2. The file path should be provided to the Import From field. The encoding of the XML file with Tasks is detected automatically.
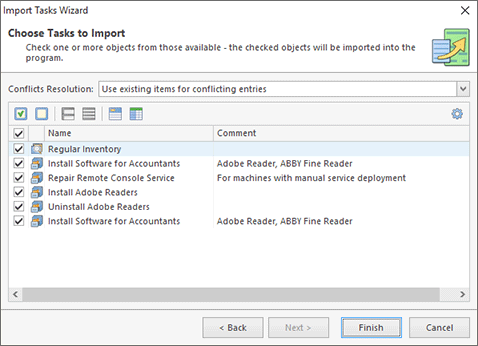
After the path to the required file is provided, press Next. The program will check if the file contains valid Tasks data and display the parsed Tasks to choose from Pic 3. In case the file contains the same Tasks that are already present in the program, they won't be checked for import automatically. However, if you still wish to import those Tasks, you can check them manually and choose the conflicts resolution mode. If Use existing items for conflicting entries is chosen, the existing Tasks are used. Thus, when you import Tasks into the program, conflicting entries are skipped. In case Create new items for conflicting entries is chosen, conflicting entries are imported as new items. The conflicts resolution mode is also taken into account when importing the Task's configuration data, e. g. the Collections included into the Task's Machine Queue.
When the Tasks to import and the conflicts resolution mode have been chosen, press the Finish button to proceed with import. As soon as the import has been completed, the imported Tasks are added to the Tasks area.
|
Export The Export button from the Organize Ribbon group on the Program page can be used to export the Tasks from the program to an XML file that can be used in the future for import. |
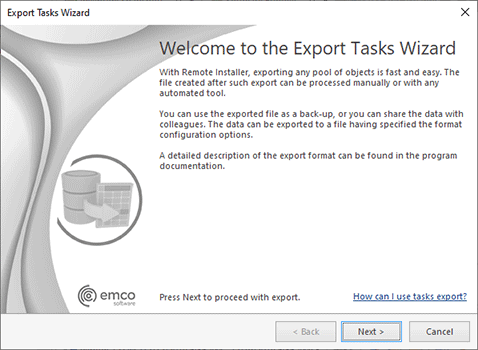
To perform export, select the Tasks to export and press the Export > Export Selected button from the Organize Ribbon group on the Program page. Alternatively, you can use the Export item from the Tasks area pop-up menu. To export all tasks, you can use the Export All items. The Export Tasks wizard appears on the screen Pic 4.
The first page of the export wizard is the welcome page used to introduce you to the feature the wizard is supposed to help you with. After reading the welcome information, press Next to continue with export.
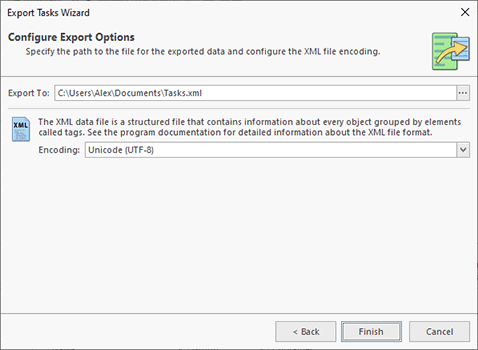
On the next page of the Export Tasks wizard, you are offered to choose the file you are going to save the Tasks to and the file format options Pic 5. The file path should be provided to the Export To field. You can choose the encoding to be used for saving the Tasks.
When the file path and the export format have been chosen, press Finish to proceed with export. A file containing the exported Tasks will be created in the specified path. The file created during export can be used in the future to import the Tasks back to the program.
Now you are fully introduced to the Tasks export and import options available in Remote Installer and can use them to solve your tasks.

