Importing and Exporting Preconfigured Reports
With Ping Monitor, you can easily import and export reports any time you want. You can export one or all of the available reports to use the exported data as a back-up, to share the reports with your colleagues or simply to import them to another instance of the program. This chapter covers the process of importing and exporting reports.
|
The Import button from the Organize Ribbon group on the Program page can be used to import reports from an XML file with the help of the wizard. |
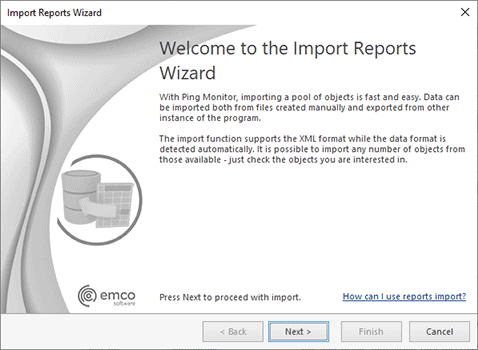
The reports can be imported into Ping Monitor from XML files. The XML file structure is quite complex, so it is not recommended to create it manually. If you want to import the reports into Ping Monitor, press the Import button from the Organize Ribbon group on the Program page, when the Reports view is active. The Import Reports Wizard will appear on the screen Pic 1.
The first page of the Import Reports Wizard is the welcome page, which is used to introduce you to the feature the wizard is supposed to help you with. After reading the welcome information, press Next to continue with import.
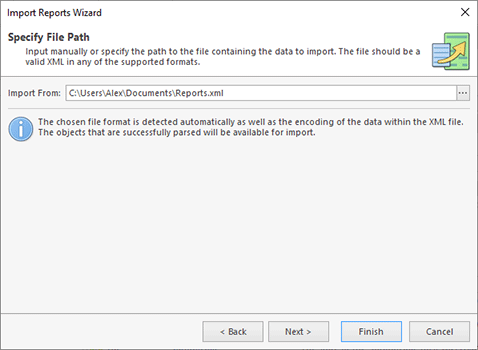
On the next page of the Import Reports Wizard, you are offered to choose the file you are going to import reports from. The file path should be provided in the Import From field Pic 2. The format and encoding of the XML file with reports is detected automatically.
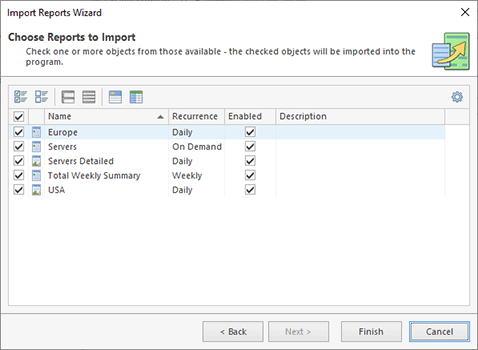
The next page offers you to choose the reports to import. By default, all the valid reports are selected Pic 3.
When the reports to import have been chosen, press Finish. When the import is done, the reports are added to the program and displayed in the Reports view.
|
The Export button from the Organize Ribbon group on the Program page should be used to export reports from the program to an XML file that can be used in the future for import. |
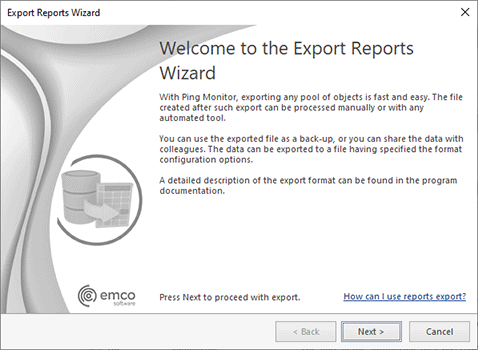
The reports can be easily exported to the XML file format for future reuse. The reports export can be performed from the Reports view. You can choose between exporting all reports and those that are currently selected. To perform export, use an appropriate option from the drop-down of the Export button from the Organize Ribbon group on the Program page. The Export Reports Wizard will appear on the screen Pic 4.
The first page of the Export Reports Wizard is the welcome page, which is used to introduce you to the feature the wizard is supposed to help you with. After reading the welcome information, press Next to continue with export.
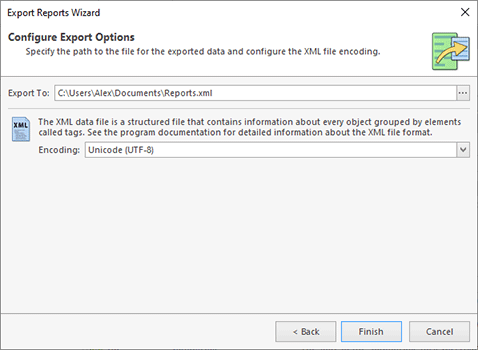
On the next page you are offered to choose the file you are going to save the reports to and the format options. The file path should be provided in the Export To field Pic 5.
When the file path and the encoding are chosen, press Finish to proceed with export. The file containing the reports' information will be created in the location according to the path specified. The file created during export can be used in the future to import the reports back to the program.
Now you are fully introduced to the reports export and import capabilities of Ping Monitor and can use them in future to solve your tasks.

