How to Use a Virtual Machine for Repackaging
Repackaging on a remote virtual machine is similar to repackaging on the local machine, except for a few differences. The step-by-step process is explained in the demo chapter. Here you can learn about the differences caused by monitoring on a remote virtual machine.
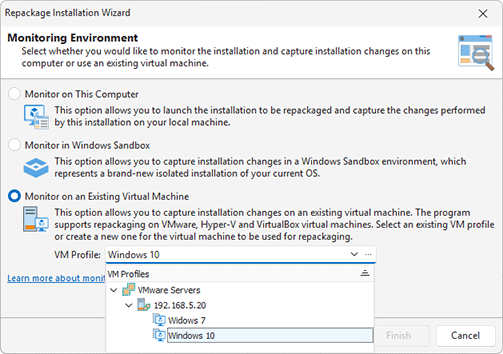
To use an existing remote VM for monitoring, you need to select the corresponding option in the Repackage Installation wizard and select the required VM profile Pic 1. If you don’t have a profile yet, you can create it right at this step by clicking  button. You can learn how to configure a VM profile in the Managing VM Profiles chapter.
All other steps of the Repackage Installation wizard are the same as for monitoring on the local machine, so you can select the required monitoring type to capture an installation or system changes. You need to provide a path to the installation to be monitored and configure the options of the generated package.
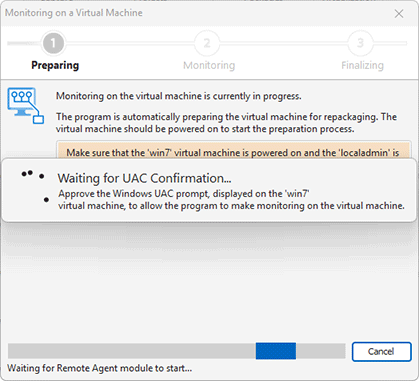
When all the settings have been provided and you click the Finish button in the wizard, the program interacts with the VM. Before starting monitoring, you need to log in on the virtual machine with the user account specified in the VM profile. At this step, the program needs to interact with the OS running on the VM, so if you use a VMware virtual machine, you need to click ‘Yes’ on the Windows UAC prompt displayed on the VM to allow such an interaction. The corresponding instructions are displayed by the program Pic 2.
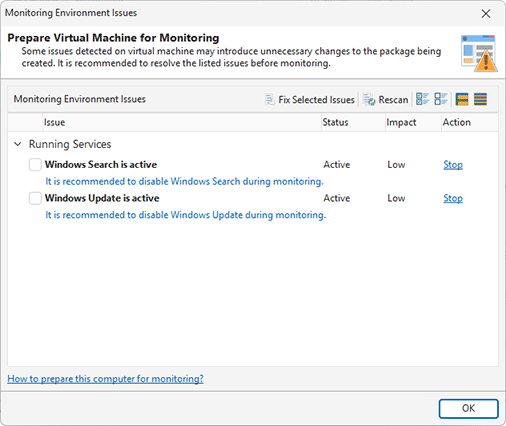
In scope of VM preparation for monitoring, the program needs to check if there are any monitoring issues on the VM. The corresponding dialog is displayed, and you can fix the issues if any have been detected Pic 3.
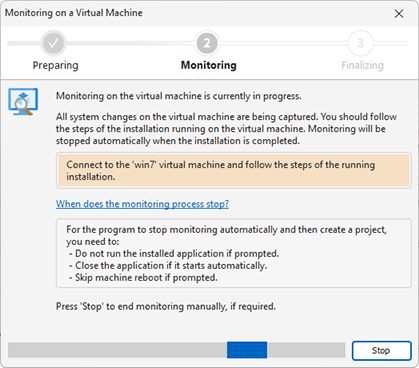
Once the monitoring issues have been resolved, the program automatically prepares the VM for monitoring. The installation file is copied to the VM, and the monitoring modules are checked and installed on the VM, if required. All these steps are performed automatically. You don’t need to make any special preparations on the VM. Once everything is done, monitoring starts automatically, and the corresponding dialog with instructions is displayed Pic 4.
At this point, you can open the VM and apply the required changes to be monitored. If you configured the program to capture an installation and specified the installation file, this installation should be automatically started on the VM, and you need to follow the installation steps. Monitoring will be stopped automatically once the installation is completed. If you selected the option of capturing system changes, you can apply those changes. When all the changes have been applied, you can go back to the program and press the button to stop monitoring.
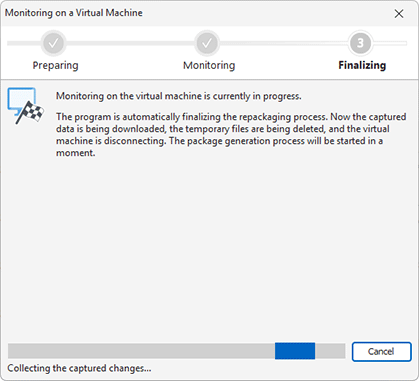
Once monitoring is stopped (automatically or manually depending on the selected option), the program exports the captured data from the VM to be saved in the projects storage and runs the package generation. You can see the progress on the screen Pic 5.
If you choose the option in the VM profile to revert the VM to a selected snapshot, it is reverted automatically at the end of monitoring, so that next time you need to repeat repackaging, you can use a ready snapshot with a clean VM state.
The program generates a package using the monitoring results captured on the VM, and you can see the generated package on the file system. It’s recommended to test this package before deployment in the corporate network. Follow the instructions available in the Package Testing and Troubleshooting chapter.
How to Optimize Installation Monitoring on a VM
When you use an external VM for monitoring, the program needs to copy an installation to be monitored to the VM. If the installation file is large, it can take some time to copy it to the VM. To reduce the monitoring preparation time, you can select an installation file stored on a network share rather than selecting a local file. In this case, the program doesn’t copy the installation to the VM, but runs the deployment from the network share. To use this approach, just make sure the network share allows access for the Windows account used on the VM for monitoring.
